
Editing Data in the Mobile Apps
The previous tutorials focused on the website interface, because that's usually the most efficient place to initially populate your account with data. But you can also add or edit most of your data in the mobile apps. This tutorial describes some things that might not be obvious about editing data in the apps:
Note: Your account administrator can give you full editing access, or allow you to only edit the items you added, or not allow you to edit anything. If some editing functions don't appear as described here, this might be because you were given limited editing access.
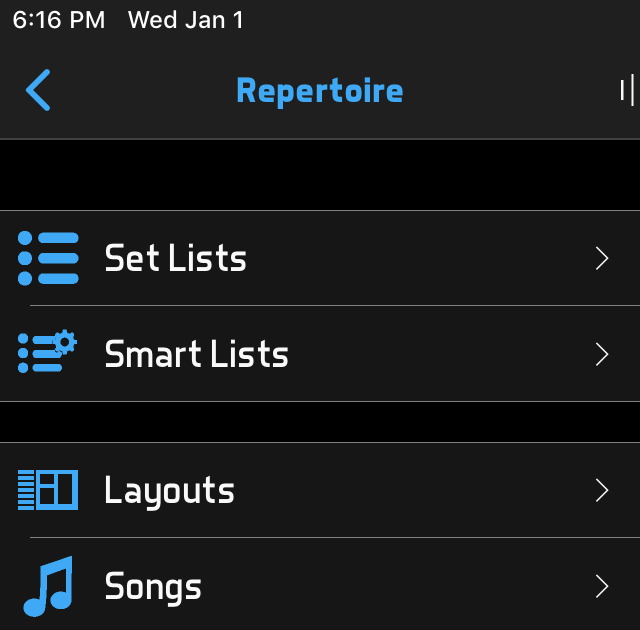
- The main menu of the mobile app shows shortcuts for favorite or upcoming items. These shortcuts are generally for viewing, not editing. To edit data, click one of the module titles, like Repertoire, Schedule or Contacts. (If you have a Basic account, the app might open to the Repertoire module automatically.) Then click one of the submenu items, like Songs in the Repertoire menu or Events in the Schedule menu.
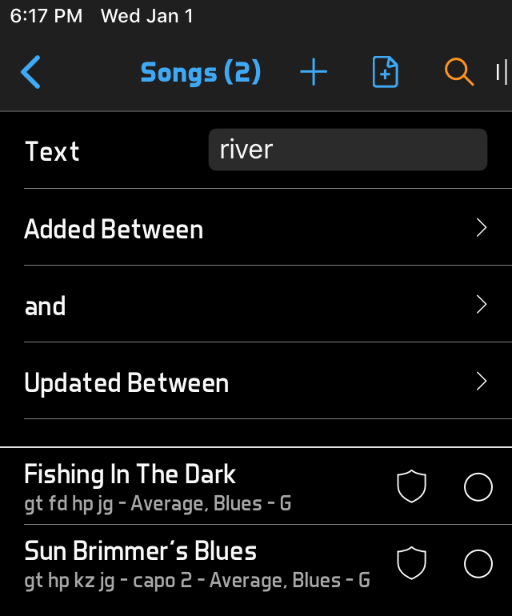
- Now you will see a list of items. You can scroll through the complete list, or click the search button in the top toolbar to filter the list. If you click the search button again to close the filters while a filter is still set, the filters will be saved and reapplied whenever you view the list. If you find in the future that items are missing from the list, check to see if the search button is highlighted, and double-click it to reset the filters.
- Click an item in the list to edit it. On smaller screens, the edit page will appear in place of the list. On larger screens, the edit page will appear beside the list.
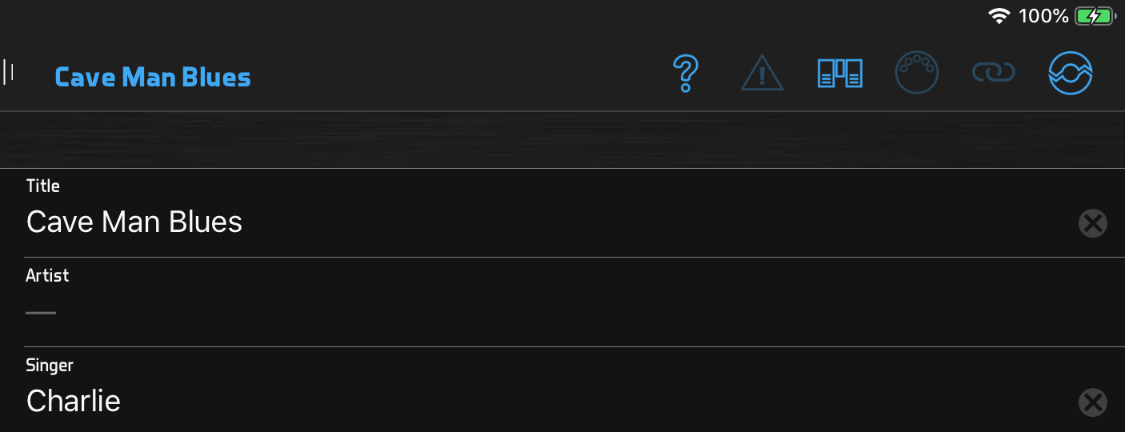
- Now you can scroll up and down on the edit page and change fields as needed. When you're done, you can simply edit another item or navigate back through the menus; your changes will be saved automatically.
- You can also use these buttons in the bottom toolbar:
 Delete the item.
 Revert any changes you've made on this page since the last save.
 Manually save changes. You can use this if you want to save changes before leaving the page. If you don't use this button, your changes will be saved automatically when you leave the page.
 Copy the item. Clicking this button creates a new item with "copy" added to the item title. You can change the title or make any other changes as needed. If you change your mind about copying the item, you can click Revert to return to the original item or Delete to return to the list.
 - If you change your mind about an edit after it's saved, you can undo the edit from the Settings > Account Sync > History button in the app, or the Admin > History page on the website. The website page is better because it includes filters to locate the edits you want to undo. From either interface, you can select individual edits, then click Continue to undo them. The selected fields will be rolled back to the last value before the one you selected. If you want to undo multiple edits, you only need to select the first one to roll back to the value before that. If you want to undo a deletion, you only need to select the selection, not any of the edits that preceded it. You can only roll back to data that was entered less than 90 days ago.
Tutorials